100mm fmic, game over!
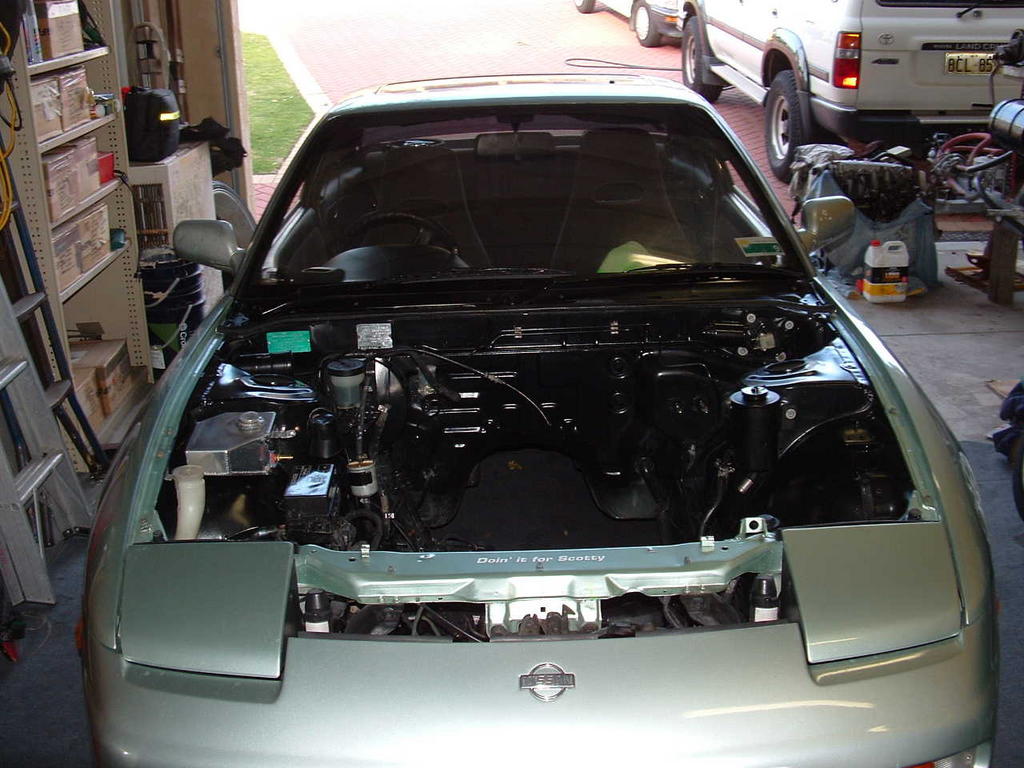
well i was out in welshpool saturday morning with a mate so we decided to swing past Jshop, run by aston and raheem. great guys and really happy to have a good chat with you. Decided to pick up a front mount intercooler, bought the 600x300x100mm version for $200. Great value.
Spent sunday morning removing my front bar and installing the fmic, fits up perfectly, snug up against the headlight brackets and intrusion bar. i found some 'L' shaped stainless steel lying around in the garage and cut it up to spec and used is to mount the intercooler to where the horns used to be mounted. I'll find another place for them later...
For those that usually remove the intrusion bar when they get a fmic, i really do urge you to simply take a dremel to the part that gets in the way of where the fmic sits (i was lucky enough to already have a space cut for this). As i am running a stock front bar, any further hacking for airflow will result in next to no performance gain except make the front end of the car substantially weaker. It's not called an 'intrusion bar' for nothing, and it does a damn good job in an accident.
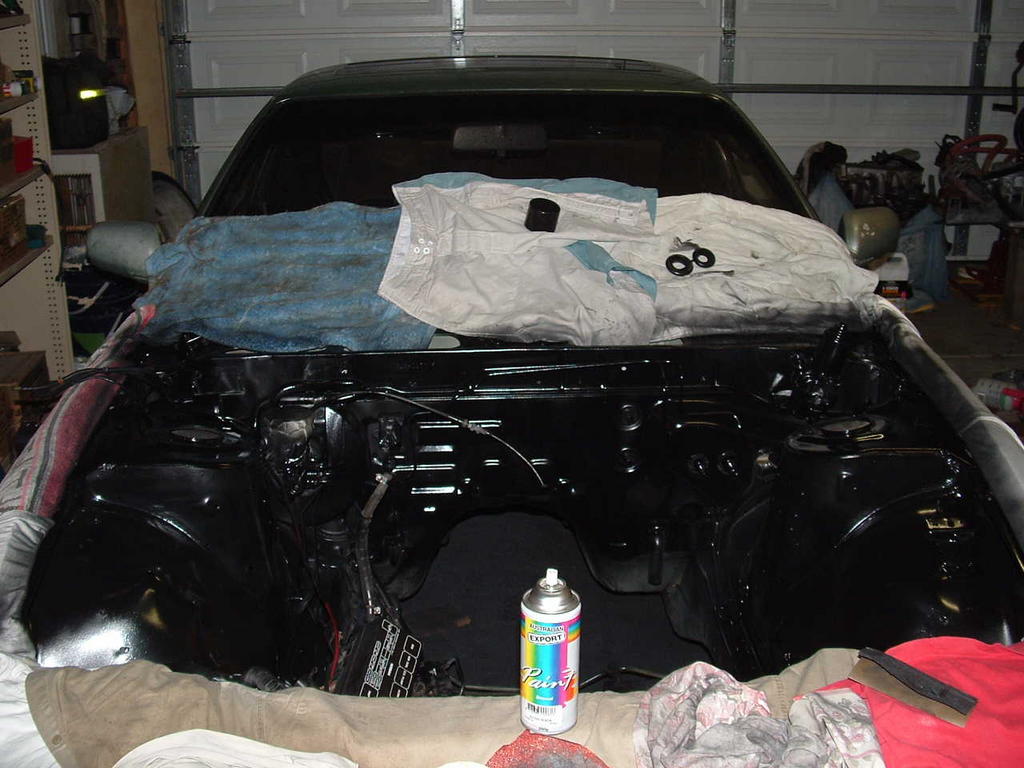
Anyway, here are some pics, overall im really happy how well its mounted, very snug and stable fit. the only movement is when you grab the bottom and used a bit of force to swing it back and forth. apart from that there is no play. And once i have the pipes connected at the bottom they will eliminate that movement anyway.


Spent sunday morning removing my front bar and installing the fmic, fits up perfectly, snug up against the headlight brackets and intrusion bar. i found some 'L' shaped stainless steel lying around in the garage and cut it up to spec and used is to mount the intercooler to where the horns used to be mounted. I'll find another place for them later...
For those that usually remove the intrusion bar when they get a fmic, i really do urge you to simply take a dremel to the part that gets in the way of where the fmic sits (i was lucky enough to already have a space cut for this). As i am running a stock front bar, any further hacking for airflow will result in next to no performance gain except make the front end of the car substantially weaker. It's not called an 'intrusion bar' for nothing, and it does a damn good job in an accident.
Anyway, here are some pics, overall im really happy how well its mounted, very snug and stable fit. the only movement is when you grab the bottom and used a bit of force to swing it back and forth. apart from that there is no play. And once i have the pipes connected at the bottom they will eliminate that movement anyway.


posted by muniom at
11:18 AM
|
0 comments
![]()